This cupcake took three attempts to get the cupcake base just where I wanted it. I don't like a brownie that's so chocolaty rich I can only eat a bite or two. I also don't like a brownie that has no body to it and it's completely gooey. It's needs some chew and bite to it. Basically I'm more of a traditional, milk chocolate brownie kind of gal.
Just an fyi these cupcakes aren't a fluffy dome like cupcake. They will likely sink just a bit in the middle once they are removed from the oven, that's supposed to happen. If they don't then it's a sign they are likely over-baked and dry. The marshmallow frosting is delicious toasted but it most definitely doesn't have to be. Toasted or not this frosting reminds me of the soft center of a gooey marshmallow that was slowly roasted over the hot coals of a campfire. It is fluffy, dreamy, bliss in frosting form and it is actually incredibly easy to prepare. The stand mixer does most of the work. Enjoy!

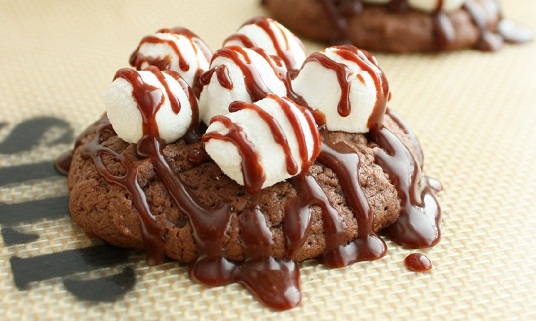
Brownie Cupcakes with Marshmallow Frosting
Yields 12 cupcakes
Ingredients:
1 1/4 cups all-purpose flour
1/4 tsp baking powder
1/4 tsp salt
1 cup granulated sugar
1/2 cup packed light-brown sugar
1/2 cup + 2 Tbsp cocoa powder
3/4 cup butter, melted
2 large eggs
1 1/2 tsp vanilla extract
2 Tbsp milk
Marshmallow Frosting:
4 large egg whites
1 cup granulated sugar
1/4 tsp cream of tartar
1 tsp vanilla extract
Directions:
Preheat oven to 350 degrees. In a mixing bowl whisk together flour, baking powder and salt, set aside. In a separate mixing bowl, whisk together granulated sugar, light-brown sugar and cocoa powder. Pour in melted butter and use a wood spoon to stir until combine. Mix in eggs and vanilla extract. Stir in milk. Add dry ingredients and mix just until combine (batter will be thick).
Divide batter among 12 paper lined muffin cups filling each about 2/3 full (about 1/4 cup batter in each). Bake in preheated oven 16 - 20 minutes (lesser for gooier brownies). Allow to cool in muffin tin several minutes before transferring to a wire rack to cool. Cool completely then pipe Marshmallow Frosting over cupcakes and toast edges of frosting with a kitchen torch if desired.
For the Marshmallow Frosting:
Add egg whites, granulated sugar and cream of tarter to a heat proof bowl of an electric mixer. Set bowl over a saucepan filled with a few inches of simmering water. Heat mixture, whisking constantly until egg whites are very warm to the touch, about 4 minutes (mixture so register 160 degrees on a candy thermometer). Remove from heat and transfer bowl to electric stand mixer fit with a whisk attachment. Beat mixture beginning on low speed and gradually increasing to high speed, until stiff glossy peaks form, about 6 - 8 minutes. Add vanilla during the last 10 seconds of mixing. For best results serve immediately.
Recipe Source: Brownie Cupcakes - Cooking Classy, Marshmallow Frosting - Martha Stewart